The Ultimate Guide to Checking Your IPO Allotment Status (Step-by-Step)
Waiting for allotment results? Learn exactly how to check your IPO allotment status step-by-step. Get direct registrar links and avoid common errors on IPOBASE.
You have researched the company, analyzed the GMP, and successfully applied for the IPO. Now comes the most nerve-wracking part of the entire process: The Allotment Day.
On this day, the "lottery" results are announced. If you are lucky, you get shares that could list at a premium. If not, your money is refunded. But for many new investors, simply finding the result is a headache.
Registrar websites can be slow, confusing, and hard to find. Sometimes you don't even know which registrar (Link Intime, KFintech, Bigshare, etc.) is handling the IPO.
Don't worry. In this guide, we will walk you through the exact process—starting from the easiest way to find the right link, to exactly what details you need to enter to see your result.
Step 1: Start at the Source (The Easy Way)
Instead of searching Google and risking clicking on spammy links or wondering which registrar is handling the specific IPO you applied for, we have consolidated everything for you.
Action:
- Open your browser.
- Go to our dedicated status page: https://www.ipobase.in/ipo-allotment-status
Why start here? Every IPO is managed by a different "Registrar." One week it might be Link Intime, the next week it might be KFin Technologies. If you go to the wrong registrar's site, you won't find your IPO listed.
At IPOBASE, we automatically track which registrar is handling which IPO. On our Allotment Status page, you will see a list of all active IPOs. Simply find the name of the company you applied for, and we will provide you with the Direct Link to the correct registrar's checking page.
Step 2: Navigate to the Registrar’s Portal
Once you are on the IPOBASE Allotment Page and have clicked the Registrar's Allotment Status Page link next to your chosen IPO, you will be redirected to the official registrar’s website.
This is where people often get stuck. The page might look technical, but you only need to focus on a few specific fields.
The "Selection" Dropdown: First, you will see a dropdown menu labeled "Select Company" or "Select IPO."
- Click it and find the name of your IPO.
- Note: If you don't see the company name yet, it means the results are not live. Registrars often upload data late at night. Refresh the page after 30 minutes.
Step 3: Choose Your Identification Method (What to Add)
Registrars usually give you three options to identify yourself. You do not need all of them. You only need to choose one.
Here is the breakdown of what to use (and what to avoid):
Option A: PAN Number (Recommended)
This is the fastest and most error-free method.
- Select: "PAN" from the options.
- Enter: Your 10-digit Permanent Account Number (e.g., ABCDE1234F).
- Tip: Ensure you are entering the PAN of the primary applicant. If you applied on behalf of a family member, use their PAN, not yours.
Option B: Application Number
- Select: "Application No."
- Enter: The specific number found on the acknowledgement slip you received after applying.
- Warning: This number is long and easy to mistype. If you applied via net banking (ASBA) or UPI, finding this number can sometimes be tricky. We recommend sticking to PAN unless you don't have it handy.
Option C: DP Client ID
- Select: "DP Client ID"
- Enter: Your Demat account details.
- What NOT to add: Do not confuse your DP ID with your Client ID. If you are with CDSL (most discount brokers like Zerodha/Groww), you have a single 16-digit number. If you are with NSDL, you have a DP ID (starting with 'IN') followed by a Client ID. Entering this incorrectly is the #1 reason for "No Record Found" errors.
Step 4: The Final Details
Once you have entered your PAN (or other detail), you will see a Captcha box.
- These are usually 6-digit numbers or letters intended to prove you are human.
- Type exactly what you see. If it’s hard to read, look for a "Refresh" icon next to the image to get a new one.
Click "Submit" or "Search."
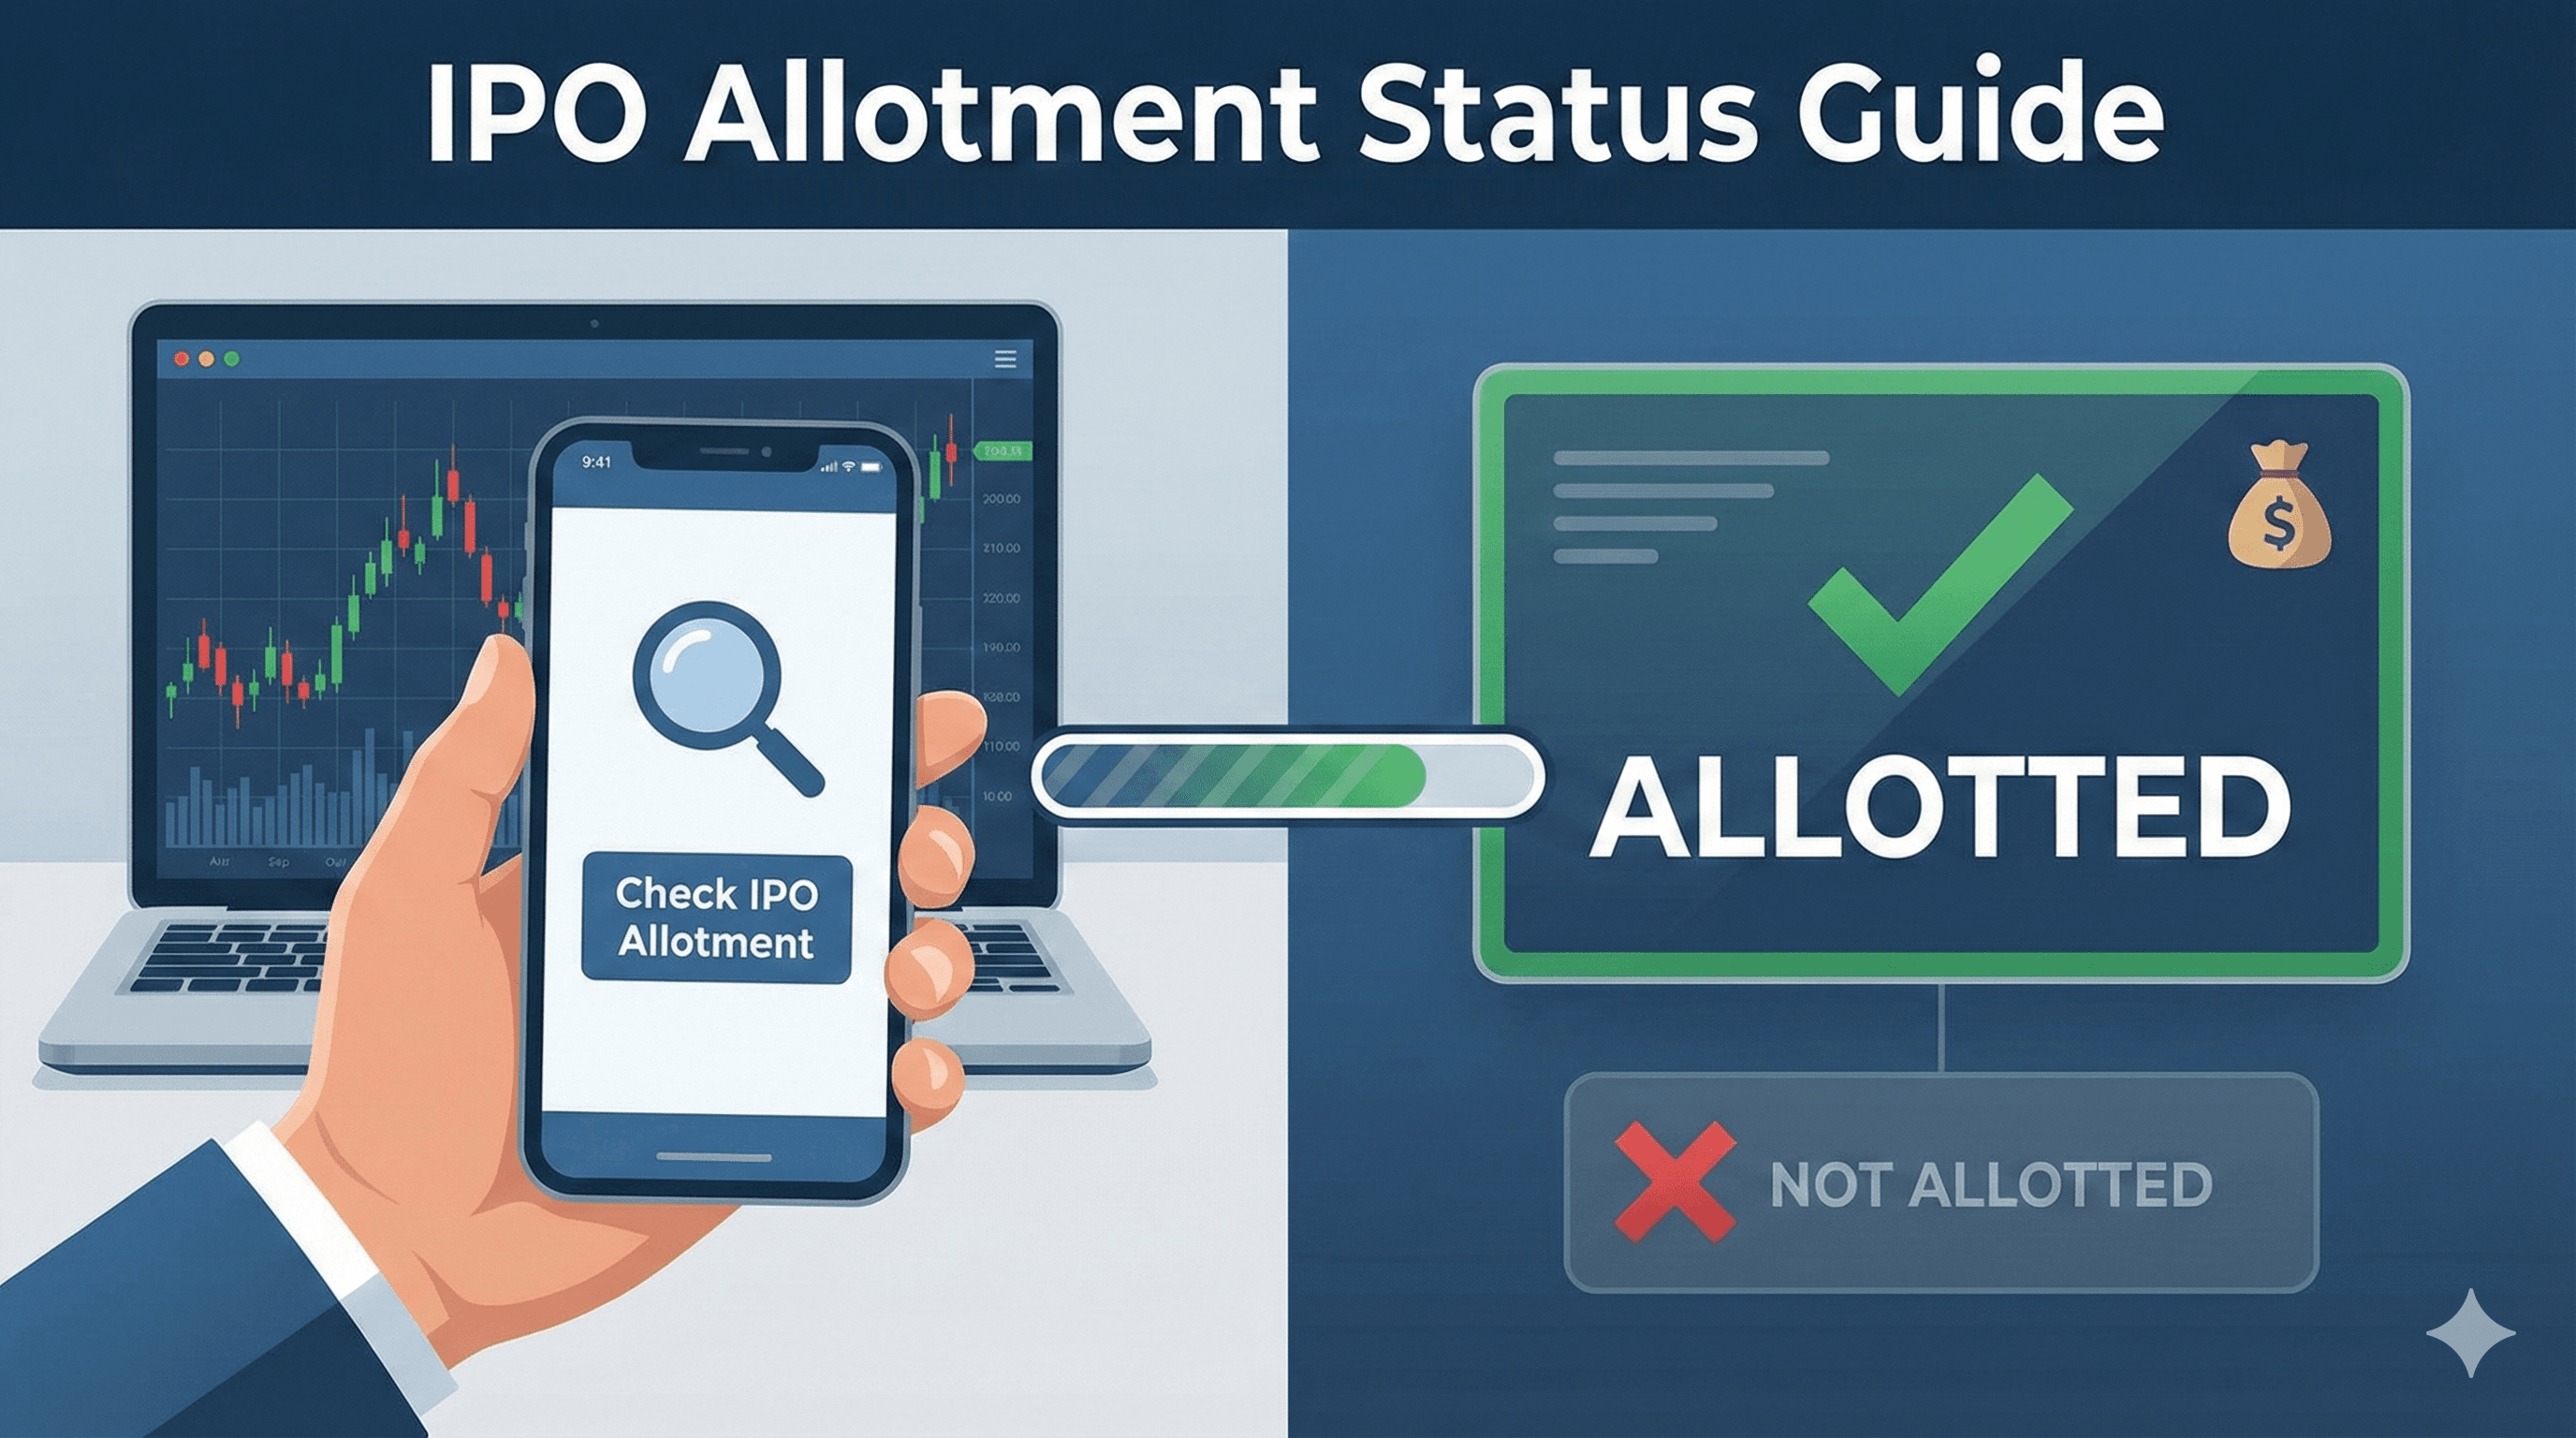
Step 5: How to Read the Result
After you click submit, a table will appear. Here is how to decode it:
- Bid Quantity: This is the number of shares you applied for (e.g., 1 lot).
- Allotted Quantity: This is the magic number.
- If it says 0, sadly, you were not allotted any shares. Your money will be unblocked soon.
- If it shows a number (e.g., 15, 50, etc.), Congratulations! You have received an allotment.
Important Note on "Pending" Status: Sometimes, you might see the company name in the dropdown, but when you search, it says "Record Not Found." This usually happens when the data is still being uploaded to the server step-by-step. If you are sure your details are correct, wait for 1 hour and try again via the link on IPOBASE.
Summary Checklist
- Go to IPOBASE Allotment Status.
- Click the direct link for your specific IPO.
- Select the Company Name on the registrar page.
- Enter your PAN (it's the safest option).
- Enter the Captcha and hit Submit.
Wishing you the very best of luck! Here’s hoping your dashboard shows a successful allotment and some great listing gains.